
One of the great features of Avid Media Composer is the ability to create animated masks.
Click on this link for a YouTube Tutorial on how to create a quick mask by duplicating a clip segment within Media Composer.
Or, read the text/image based tutorial below.
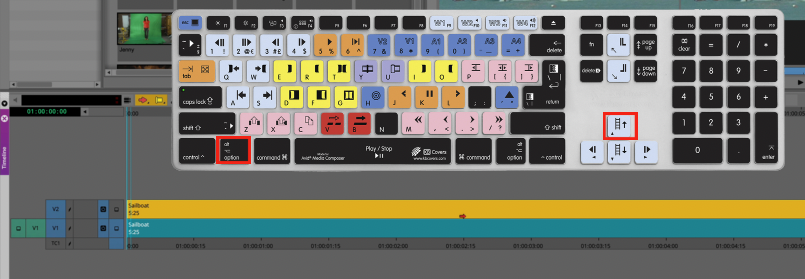
Start by duplicating a clip segment layer by holding down the option/alt key and pressing the UP ARROW key. That will duplicate the clip segment on V1 onto V2.
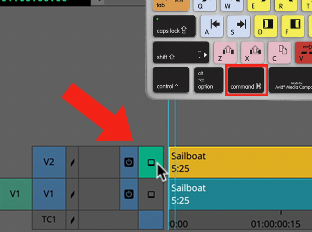
Then, command click on the V2 Monitor Icon to Solo the Layer.
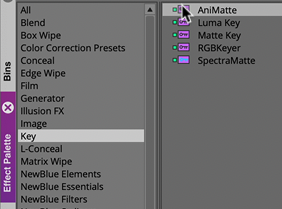
Drag the Animate Effect from the Effect Palette onto the V2 Clip Segment
Then enter into Effects Mode.
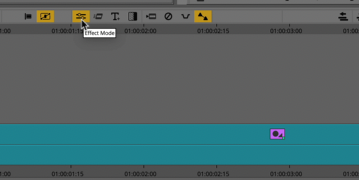
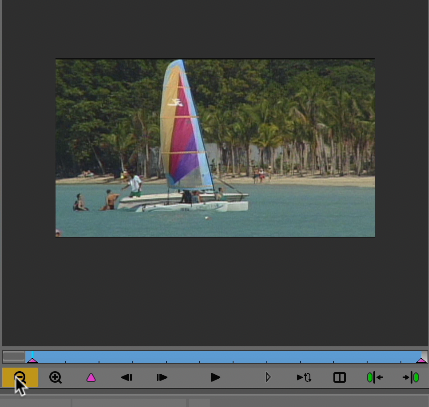
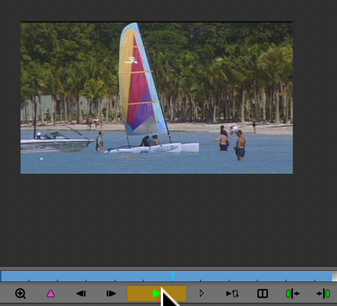
Next, click on the Reduce Icon to zoom out of the visible area within the Record Side of the Composer Window.
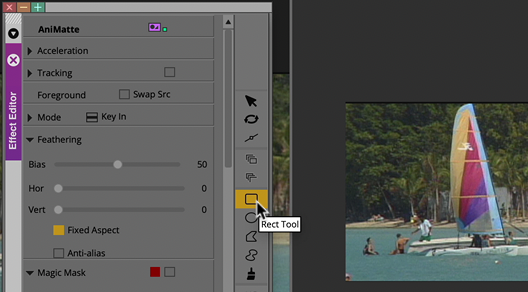
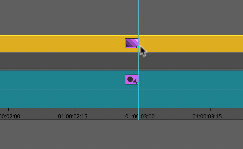
Click on the Rectangle Tool within the Effect Editor Window.
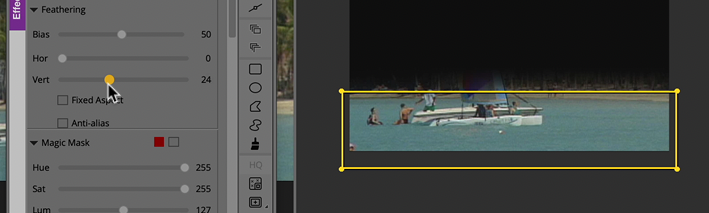
Draw a Rectangle Mask around the water area and adjust the vertical feathering to hid the hard edge of the masked area.
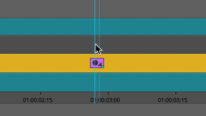
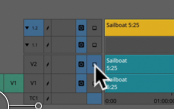
Double click on the Animate Effect located on the Clip Segment within the timeline. The Timeline will expand with 2 additional tracks. This is called expanded nesting.
Within the Effect Palette, navigate to the Image Category and look for the Color Effect.
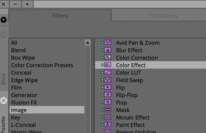
Drag the Color Effect onto the V1.2 track which is nested within the V1 track.
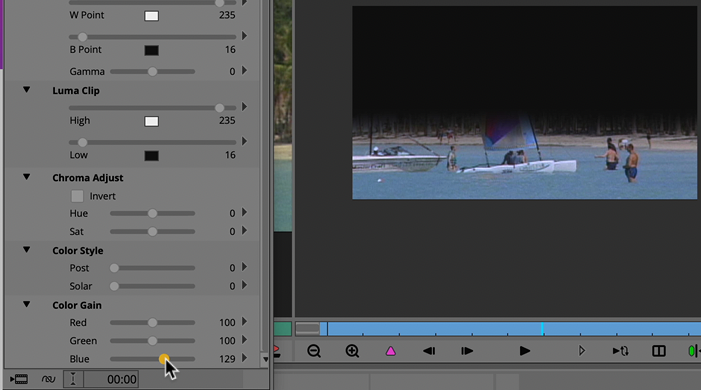
Then, adjust the blue parameter within the Color Gain category.
You can now umute the V2 track and place the monitor icon icon the V1 track.
That’s it!, now you have an isolated matte (mask) where you can adjust the color of the shape independently from the rest of the video segment.
If you enjoyed this tutorial, please subscribe to our YouTube Channel, or consider taking an Avid Certified Media Composer Course.