
It’s easy to create the Pleasantville or Schinlder’s list effect in Final Cut Pro X.
Check it out!

This tutorial has been updated for Final Cut Pro X 10.3.X
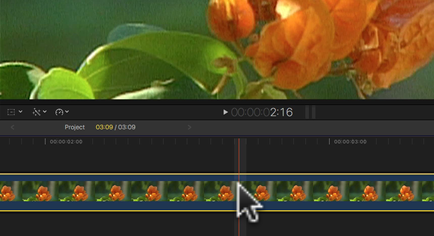
Start by clicking on a clip segment within the timeline area.
Then open the effects browser window.
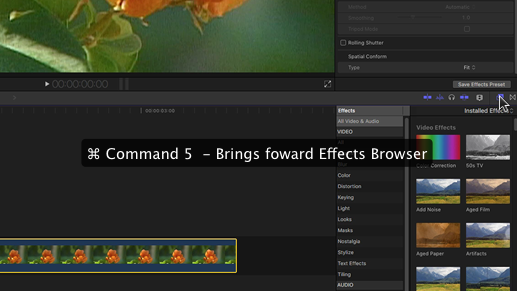
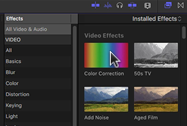
Look for the Color Correction Effect and double click on it.
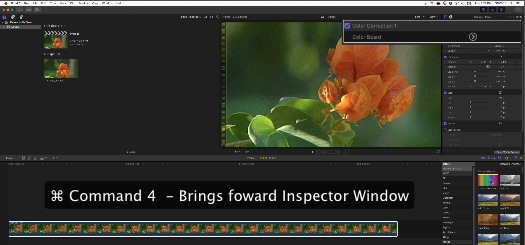
In doing so, this will add the color correction effect to the inspector window.
Navigate to the right hand corner of the Color Correction Parameter and click on the mask icon.
To isolate a specific color, choose Add Color Mask from the contextual menu.
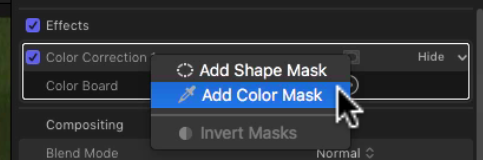
Navigate back to the mask icon and choose Invert Masks.

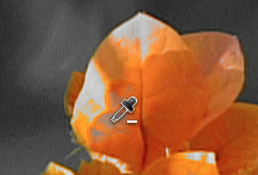
With the eye dropper tool activated navigate to the viewer window and hold down the left mouse button to select a range of color you want to protect.
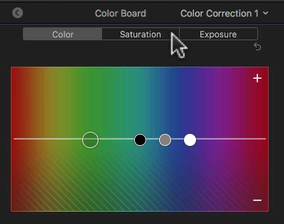
Navigate back to the inspector, and click on the side arrow for the Color Board.
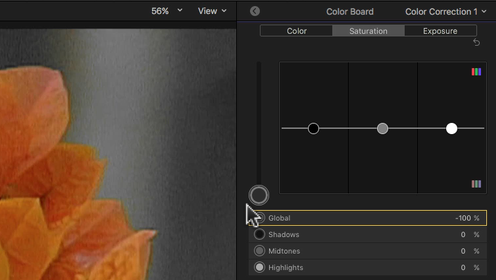
Then click on the saturation tab.
Off to the left drag the saturation slider all the way to the bottom.
Okay, that’s it! Check it out.
After you preview the result, hold down the shift key or the option key to add or remove color values to fine tune.
For other great tutorials like this, please subscribe to our channel or contact GeniusDV for hands-on Final Cut Pro X training.